A gift hamper is more than a collection of products placed in a box. When it is planned well, every layer from the outer box to the inner tissue creates a reveal experience that makes the recipient feel the care that went into the presentation. Getting there requires thinking about structure, product fit, information and finishing together rather than as separate decisions made at the last moment.
Start with the product list before choosing the box
The most common mistake in hamper packaging is choosing the box before confirming what goes inside. A box that is too small forces products to be rearranged or removed. A box that is too large leaves empty space that looks unintentional and requires excessive filler to compensate.
Before any packaging decision is made, the full product list should be finalised with actual dimensions and weights. Products should be physically grouped or sketched in a rough layout to understand how they will sit together. This layout becomes the brief for the box size, partition design and insert arrangement. It also prevents last-minute surprises when products arrive for packing.
- Finalise the complete product list with actual dimensions before choosing the box size.
- Sketch a rough layout of how products will sit inside the box.
- Account for labels, tissue and filler when estimating the required internal volume.
- Avoid choosing the box from a catalogue without checking product fit first.
Choose the outer box based on presentation and handling requirements
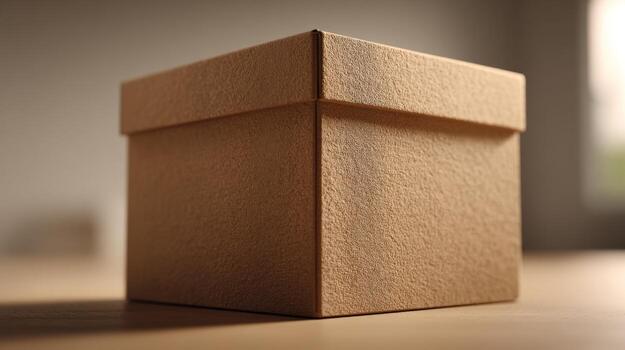
The outer box sets the tone for the entire hamper. A kappa rigid box creates a structured, premium reveal and works well for luxury gifting, corporate hampers and festive sets where the box itself is part of the gift. A kappa fancy box offers decorative appeal for lighter, celebration-focused hampers. An MDF box works when the hamper should feel durable and reusable after the products are gone.
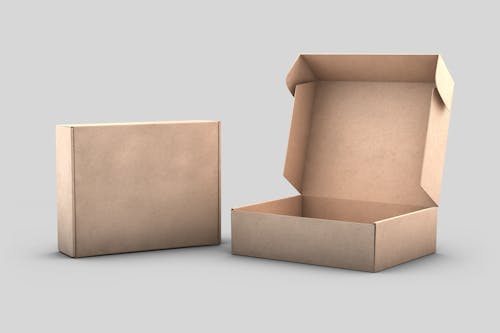
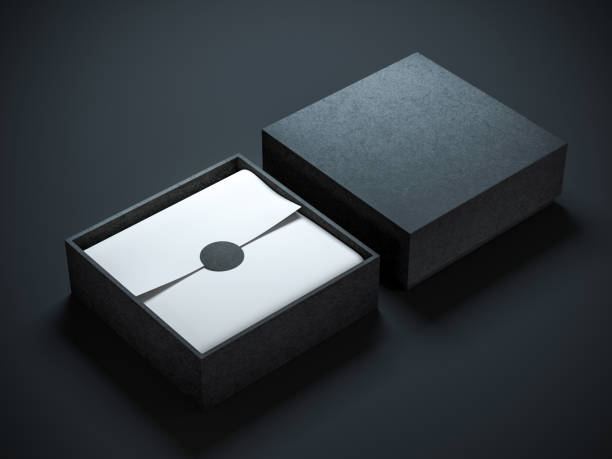
The opening style also matters. A lift-off lid creates a clean, dramatic reveal. A hinged box opens like a book and keeps the lid attached, which can feel more controlled and premium. A collapsible or foldable structure may suit hampers that need to be shipped flat and assembled on arrival. Each format creates a different experience and has different implications for production time and cost.
- Use kappa rigid boxes for luxury, corporate and premium festive hampers.
- Use kappa fancy boxes for decorative, celebration and lighter gifting sets.
- Use MDF boxes when the hamper box should become a keepsake.
- Choose the lid and opening style based on the reveal experience the recipient should have.
Plan inserts and partitions so products sit intentionally
Products placed loose inside a box shift during handling and can arrive looking disordered even if the outer packaging is perfect. Inserts and partitions hold each product in a specific position so the hamper looks exactly as intended when the lid is lifted.
Inserts can be made from foam, pulp, corrugated board, folded card or fabric-lined board depending on the product category and budget. Partitions divide the interior into sections, each sized for a specific product. The depth and width of each section should be checked against the actual product dimensions, not an estimated size. A well-designed insert also prevents products from pressing against each other and damaging labels, seals or fragile items.
- Use foam or fabric-lined inserts for jewellery, delicate items and premium reveals.
- Use corrugated or card partitions for food, gifting and multi-product sets.
- Size each section against the actual product dimensions, not estimated sizes.
- Check that taller products do not prevent the lid from closing cleanly.
Use tissue, filler and wrapping to create a layered reveal
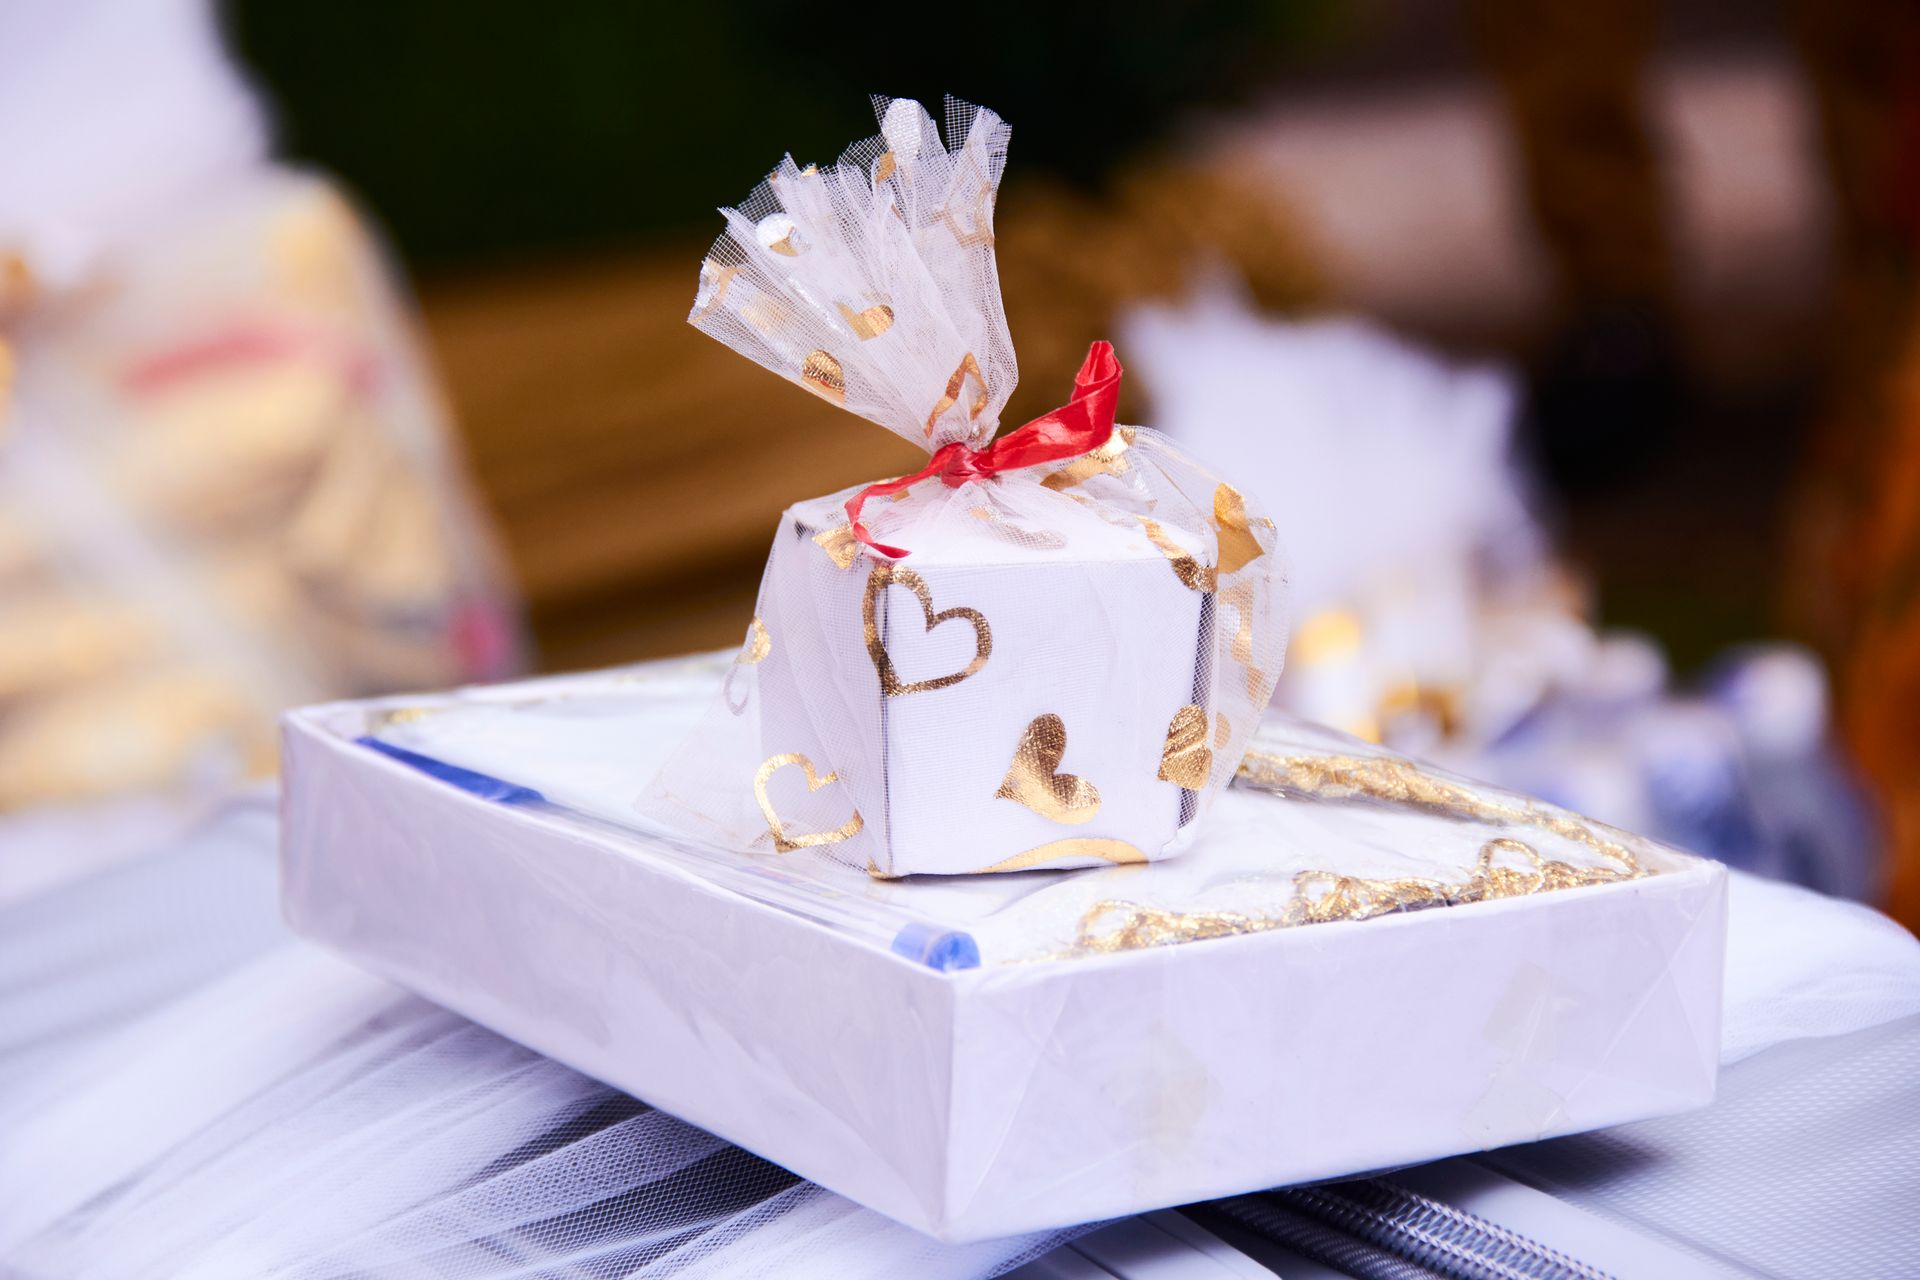
Tissue paper, crinkle filler, shredded paper and fabric wraps are not just gap-fillers. They create the visual softness and layered texture that makes opening a hamper feel like unwrapping something considered. The right filler colour complements the box interior and the product palette, while the wrong choice can make a premium hamper look like a shipping package.
Tissue paper around individual products adds a layer of anticipation before the item is fully revealed. Crinkle filler in the base creates a nest effect that holds products upright and adds visual depth. The filler material should match the occasion and brand tone. Natural kraft filler suits an organic or sustainable brand. White or ivory tissue suits a premium or bridal hamper. Gold, deep green or burgundy tissue can suit a festive set.
- Choose filler colour to complement the box interior and product palette.
- Wrap individual products in tissue to create a layered reveal experience.
- Use crinkle filler in the base to hold products upright and add visual texture.
- Match filler material and colour to the occasion and brand personality.
Add ribbon, closure and seal for the final presentation layer
A ribbon tied around the hamper box or a bow placed on the lid creates a strong first impression before the recipient even opens it. Ribbon should be chosen for width, texture and colour alongside the box finish rather than after everything else is decided. A narrow satin ribbon suits a refined luxury hamper. A wider grosgrain ribbon can feel bolder and more festive.
Magnetic closures, ribbon pulls and belly bands are also useful for keeping the box closed during handling and gifting. A printed belly band or sleeve around the outside of the box can carry campaign messaging, occasion details or a product list without printing directly on the box surface, which makes it easier to adapt the same base box for different occasions or recipients.
- Choose ribbon width, texture and colour alongside the box finish, not after.
- Use magnetic closures or ribbon pulls to keep the box secure during handling.
- Use a printed belly band or sleeve for campaign detail, occasion messaging or product lists.
- A matching ribbon or bow on the exterior creates a strong first impression before opening.
Include a tag or insert card for the personal or brand message
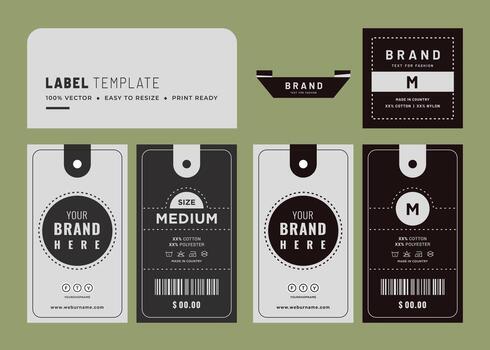
A hang tag tied to the ribbon or a printed insert card placed inside the hamper gives the sender a space for a personal message and the brand a space for a story, care note or product guide. These small additions make the hamper feel more complete and more considered.
The tag or card should be planned as part of the packaging set so the paper stock, colour and typography feel consistent with the box and tissue. A tag printed on the same kraft stock as the hamper wrapping feels intentional. A card printed on coated stock with a matte finish can feel more refined. Variable printing can be used for personalised messages across large corporate gifting runs where each recipient receives a slightly different version.
- Include a hang tag or insert card for personal or brand messaging.
- Match card paper and finish with the rest of the packaging set.
- Use variable printing for personalised names or messages on corporate gifting runs.
- Place the card where it is visible when the lid is first opened.
Plan the sticker seal as part of the hamper identity
A sticker seal on the tissue, lid or ribbon adds a branded finishing detail that holds the wrapping in place and creates one more touchpoint before the hamper is opened. A well-designed seal with the brand logo, occasion name or a simple message feels like part of the design rather than a functional afterthought.
Seal stickers can be round, square, die-cut or shaped. They work best when the finish matches the overall hamper tone. A gold foil seal suits a premium or festive hamper. A matte printed seal suits a clean, modern brand. A kraft paper seal suits an organic or artisanal presentation. The seal is a small but visible detail that communicates brand care at the very moment the hamper is presented.
- Use a branded sticker seal on tissue, lid or ribbon as a finishing detail.
- Match seal finish with the overall hamper tone.
- Use gold foil seals for premium and festive hampers.
- Use matte or kraft seals for modern, minimal or sustainable presentations.
Plan the full set together rather than piece by piece
The strongest gift hampers feel consistent from outside to inside. The box colour, tissue, filler, ribbon, tag, insert and sticker seal all work together when they are planned as a set. When each element is chosen separately at different times, the result can feel assembled rather than designed.
Sharing a complete brief that covers the occasion, recipient, product list, quantity, budget and brand guidelines helps the printer suggest a hamper packaging set that feels cohesive. Even a modest budget can produce a hamper that feels premium when the elements are chosen with consistency in mind.
Common questions
What type of box is best for a gift hamper?
Kappa rigid boxes are a strong choice for premium hampers because they hold their shape, support good finishing and create a structured reveal. MDF boxes are better when the box should be reusable after the products are gone.
Do hamper inserts need to be custom made?
Inserts should be sized for the actual products in the hamper. Custom inserts ensure each product sits in a fixed position and the hamper looks intentional when opened. Generic inserts may not fit the products correctly.
What details are needed for a hamper packaging quote?
Share the product list with dimensions, required quantity, occasion, budget range, preferred box style, finish expectations and whether inserts, tissue, ribbon and tags are needed as part of the set.